Ultimate Guide to Azure Cost Management Tools
Practical guide to using Azure Cost Management: monitoring, budgets, alerts, tagging, policies and cost optimisation for SMBs.

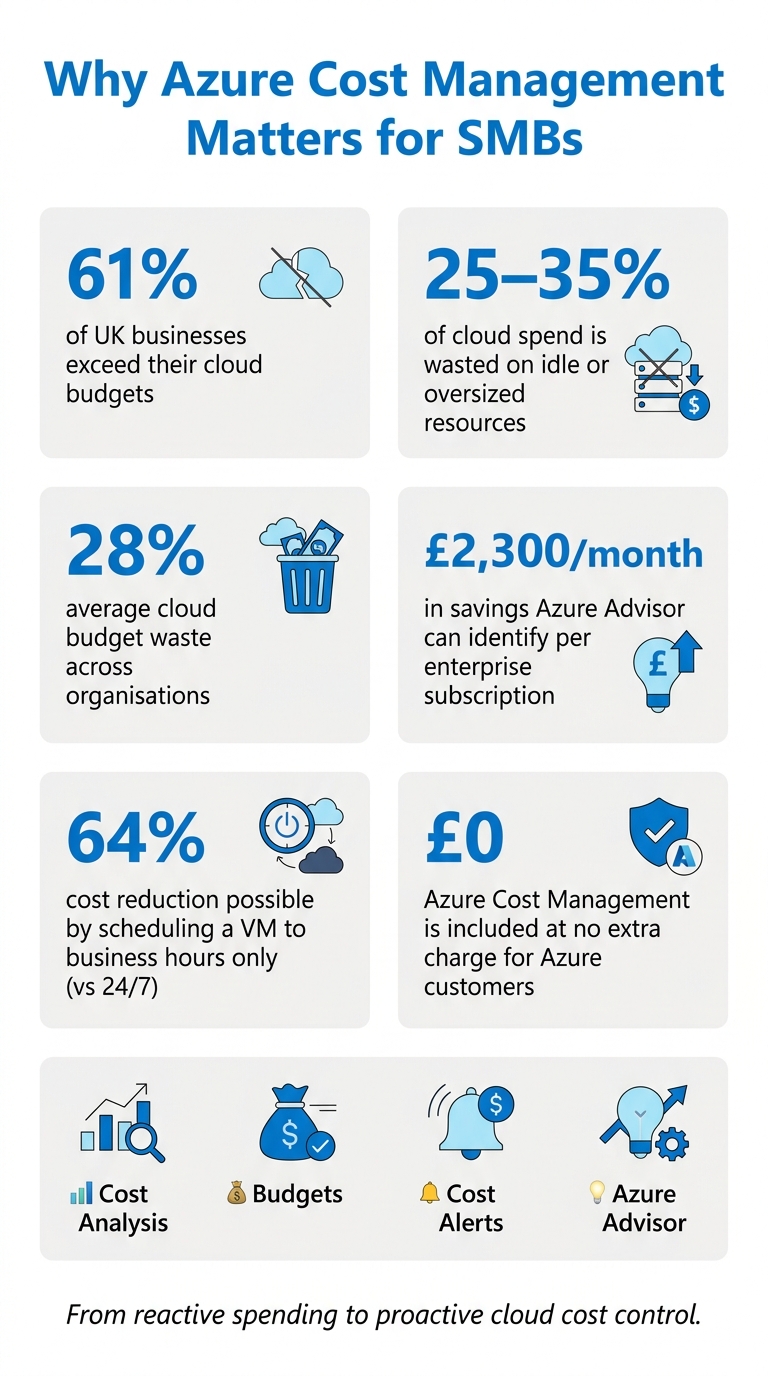
Azure Cost Management is essential for small and mid-sized businesses (SMBs) to control cloud expenses. Without proper monitoring, costs can spiral, with 61% of UK businesses exceeding their budgets and wasting 25-35% of their cloud spend on idle or oversized resources. This guide explains how to use Azure's built-in tools to track, manage, and optimise spending effectively.
Key Takeaways:
- Azure Cost Management Tools: Includes Cost Analysis, Budgets, Alerts, and Azure Advisor for real-time tracking and recommendations.
- Cost Reporting: Use tagging, automated exports, and dashboards for transparency and accountability.
- Budgets & Alerts: Set spending limits and notifications to avoid overspending.
- Advanced Features: Integrate with Power BI and use Azure Policy for better governance and control.
By leveraging these tools, SMBs can reduce waste, ensure spending aligns with business goals, and maintain predictable cloud costs.
Azure Cost Management: Key Stats & Savings for SMBs
Managing, reporting, and reducing your costs in Azure | Azure Friday
sbb-itb-6ec400b
Azure Cost Management Basics
Addressing the challenges of managing cloud expenses, Azure Cost Management provides tools to help users gain better visibility and control over their spending.
Microsoft describes it as:
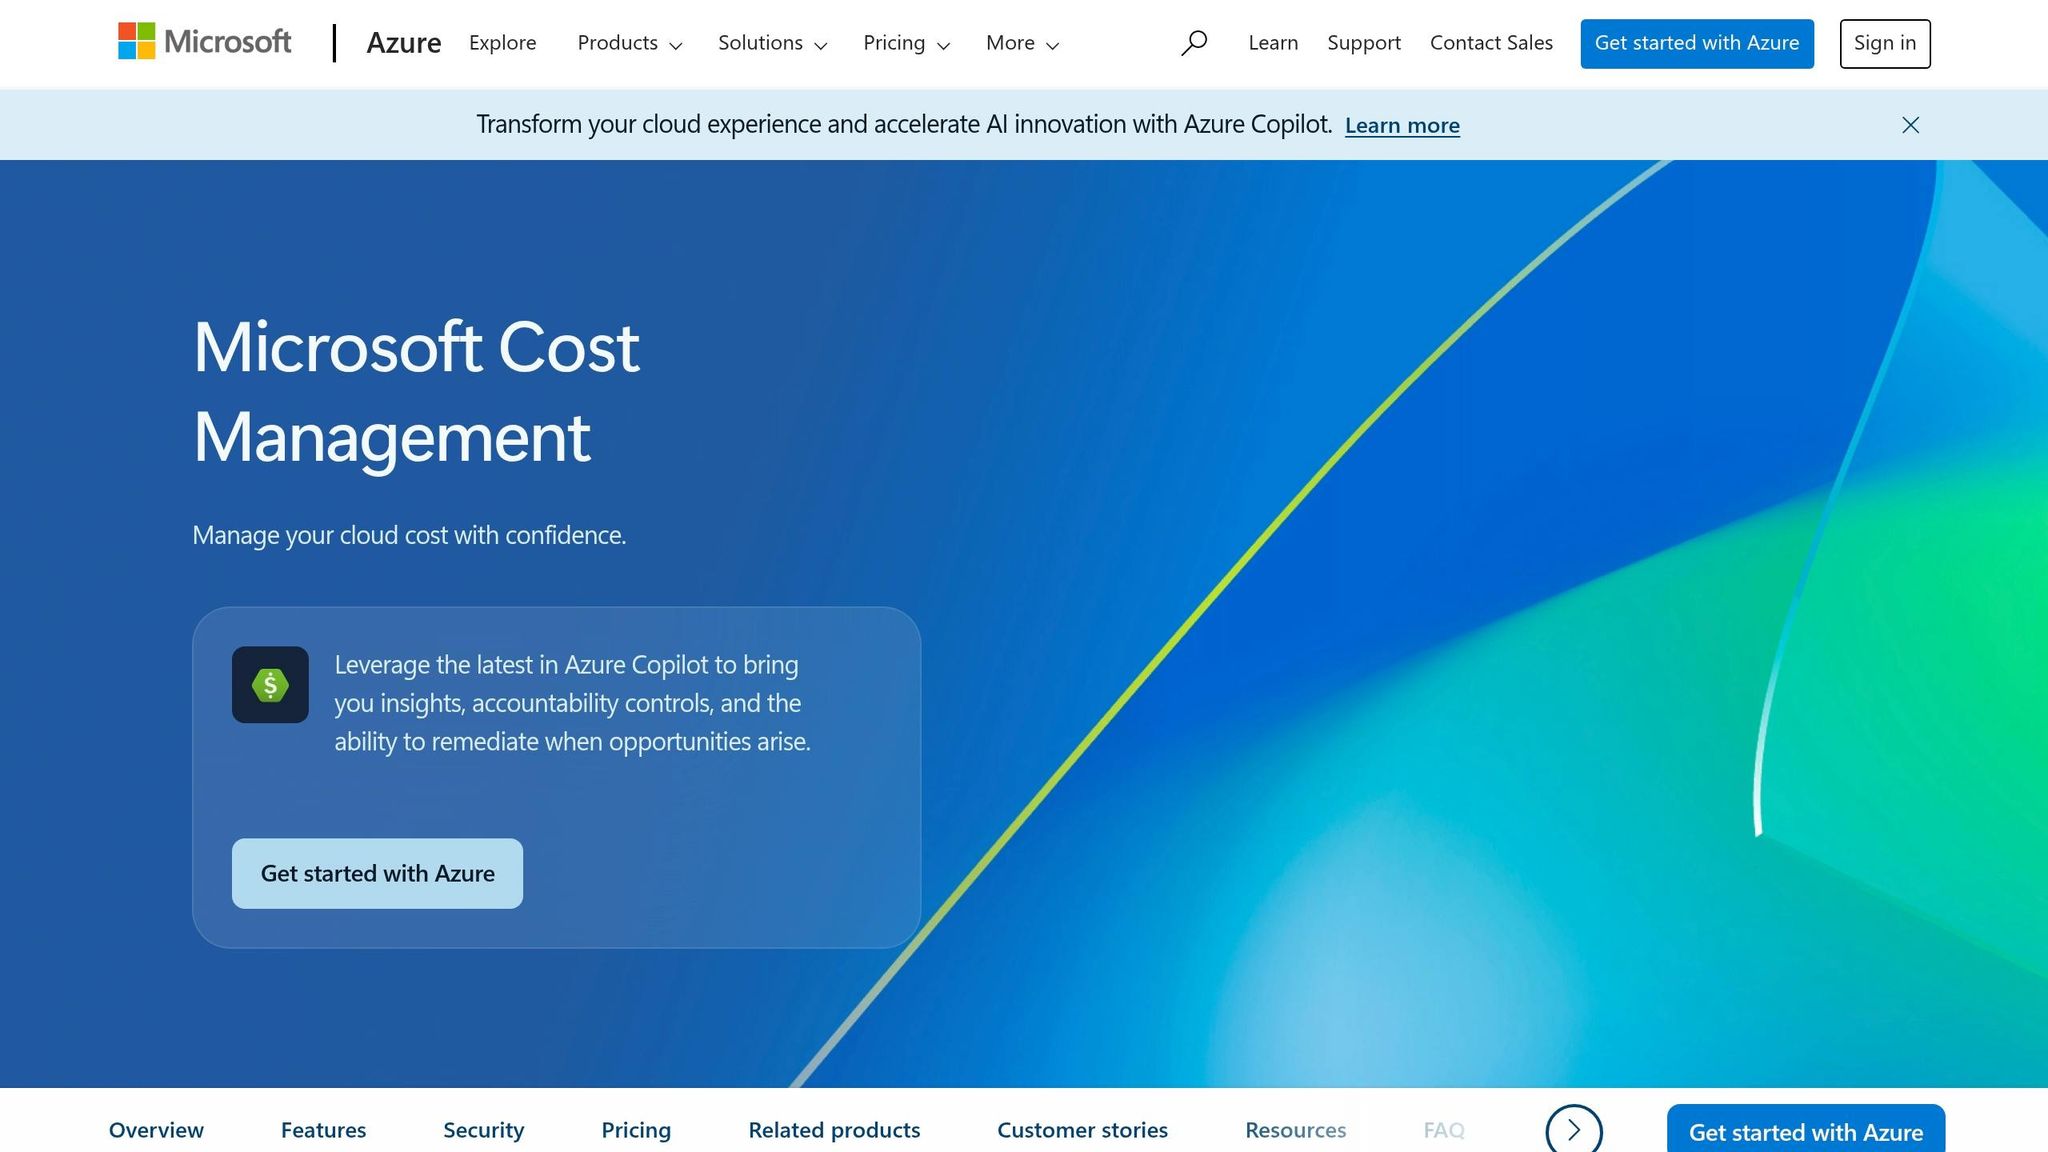
"Microsoft Cost Management is a suite of FinOps tools that help organizations analyze, monitor, and optimize their Microsoft Cloud costs."
The best part? It's included at no extra charge for Azure customers with access to a billing account, subscription, resource group, or management group. If you're using Azure, there's no reason not to take advantage of it.
Cost Management vs Billing: What's the Difference?
While often confused, Azure Cost Management and Azure Billing serve distinct purposes. Billing is about managing the financial relationship with Microsoft - handling invoices, payments, and credits. Cost Management, on the other hand, focuses on understanding and optimising spending before the invoice is due.
Think of it this way: Billing tells you what you owe, while Cost Management explains why and helps you take action to control it.
| Feature | Azure Cost Management | Azure Billing |
|---|---|---|
| Primary Goal | Analyse, monitor, and optimise spending | Manage account, pay invoices, track credits |
| Key Users | Engineers, IT managers, app teams | Finance departments, billing administrators |
| Data Included | Rated usage, forecasts, cost trends | Invoices, taxes, credits, payment history |
| Core Tools | Cost Analysis, Budgets, Alerts, Advisor | Invoices, Payment Methods, Billing Profiles |
| Timing | Near real-time (refreshed every 4 hours) | Monthly (finalised within 72 hours of period end) |
For small and medium-sized businesses (SMBs), this separation is especially useful. Developers can focus on Cost Management to identify and address inefficiencies without needing access to sensitive financial data.
Now, let’s dive into the tools SMBs should prioritise.
Core Features SMBs Should Know
Azure Cost Management includes four key tools that can make a big difference in keeping spending under control:
- Cost Analysis: This tool lets you break down spending in detail. You can filter data by resource group, service, location, or tag, and view it as accumulated totals, daily trends, or forecasts. It’s particularly useful for catching unusual spending patterns before they escalate.
- Budgets: With Budgets, you can set spending limits for subscriptions or resource groups over a specific period. These aren’t just passive limits - when linked to automated actions through Action Groups, they can trigger notifications or even pause resources once thresholds are reached.
- Cost Alerts: Alerts work hand-in-hand with budgets to keep your team informed. There are three types: budget alerts (triggered at specific spending percentages), anomaly alerts (for unexpected usage spikes or drops), and scheduled alerts (daily or weekly summaries) .
- Azure Advisor: This tool scans your environment and offers recommendations. For example, it might flag a virtual machine running at under 5% CPU usage and suggest resizing or shutting it down. Regularly checking these recommendations can reveal savings you might otherwise overlook.
For more guidance on cutting Azure costs, visit Azure Optimization Tips, Costs & Best Practices.
How to Set Up Azure Cost Management
Setting up Azure Cost Management involves defining access permissions and establishing a clear management boundary. Getting these foundational steps right simplifies everything that follows.
Access and Permissions You Need First
Azure Cost Management operates within a concept called a scope – essentially, the boundary where you view or manage cost data. Scopes are divided into two main types: Azure RBAC scopes (Management Groups, Subscriptions, Resource Groups) and Billing scopes (Billing Accounts, Billing Profiles, Invoice Sections). For most small to medium-sized businesses, focusing on the Subscription or Resource Group level is sufficient for routine cost tracking.
The role you assign within a scope determines what users can do. Instead of granting broad Owner access to everyone, consider assigning the Cost Management Contributor role. This role allows users to view costs, manage budgets, and set up exports without giving them control over the resources themselves.
| Role | View Costs | Manage Budgets | Manage Exports |
|---|---|---|---|
| Cost Management Reader | ✅ Yes | ❌ No | ❌ No |
| Cost Management Contributor | ✅ Yes | ✅ Yes | ✅ Yes |
| Contributor / Owner | ✅ Yes | ✅ Yes | ✅ Yes |
If your finance team needs access to invoices without control over resources, assign them permissions through a Billing Scope (e.g. Invoice Section) instead of an RBAC scope.
Once roles are in place, you’re ready to fine-tune cost reporting.
Steps to Configure Accurate Cost Reporting
With permissions sorted, follow these steps to ensure accurate cost reporting:
- Open Cost Management + Billing in the Azure portal. Use the Scope picker (the selector in the top-left corner of the Cost Management view) to ensure you’re working within the correct subscription or resource group.
- Enable tag inheritance. This feature is particularly helpful if your resources lack consistent tagging - a common challenge for SMBs. Tag inheritance applies subscription and resource group tags to all child resources, making it easier to filter costs by department or project. Be aware that tag inheritance takes 8–24 hours to propagate.
- Set up a daily automated export to an Azure Storage account. This creates a reliable historical record that surpasses the portal’s default retention period and integrates easily with external reporting tools. If the storage account is protected by a firewall, enable Allow trusted Azure services access in the networking settings to avoid export failures. Keep in mind, the first export may take up to 24 hours to complete.
How to Analyse Costs and Build Reports
Using Cost Analysis Tools
Once your settings are configured, the Cost Analysis tool in Azure becomes your go-to for tracking spending patterns and identifying areas for improvement within your SMB. You can find it in the Azure portal under Cost Management + Billing > Cost Management > Cost Analysis.
This tool offers several built-in views tailored to different needs:
- Accumulated Cost: Tracks your spending against a monthly budget, giving you a quick snapshot of whether you're staying on track.
- Daily Costs: Highlights day-to-day fluctuations, such as unexpected spikes or drops that might be missed in a monthly overview.
- Cost by Resource and Cost by Service: Break down spending to show which specific workloads or Azure services are driving your costs.
The tool also distinguishes between actual costs (what appears on your invoice) and amortised costs, which spread one-time purchases over time to give a smoother view of daily expenses. If you've purchased reservations, you can use this tool to check their efficiency by spotting any UnusedReservation charges.
The real strength of Cost Analysis lies in its grouping and filtering capabilities. You can slice data by Service Name, Location, or Resource Group to quickly identify significant cost contributors. If you've applied tags - for example, tagging resources by department or project - you can filter by those tags to allocate costs across teams without needing additional spreadsheets. Azure also includes anomaly detection, which uses the WaveNet deep learning algorithm and 60 days of historical data to flag unusual spending patterns. This analysis runs 36 hours after the end of each UTC day.
These tools provide the foundation for creating detailed, shareable reports tailored to your organisation's needs.
Creating and Sharing Cost Reports
Customised reports take your cost analysis a step further, helping you make better decisions and maintain a proactive approach to managing expenses. Creating these reports is straightforward: adjust your filters, grouping, and date range, then save the view as either Private (visible only to you) or Shared (accessible to anyone with permissions for that scope). You can save up to 50 shared and 50 private views per scope, offering plenty of flexibility for SMB teams to create separate reports for finance, engineering, and management.
For quick access, pin frequently used views to an Azure dashboard, making it easier for stakeholders to stay informed. If you need to combine Azure cost data with other financial information, you can schedule exports to an Azure Storage account in CSV or Parquet format. These exports are typically ready within four hours of the scheduled time.
For teams already using Power BI, the FinOps toolkit templates integrate directly with these exports, providing pre-built dashboards that save time and effort. This seamless connection allows you to dive deeper into your data without starting from scratch.
Budgets, Alerts, and Cost Governance
How to Set Budgets and Alerts
After setting up your cost reports, the next step is making sure you're notified before spending goes off track. Azure's budgeting tools allow you to define financial limits at various levels - Management Groups, Subscriptions, or Resource Groups - so you can tailor controls to fit your organisation's structure.
To create a budget, head to Budgets under Cost Management + Billing and click '+ Add'. From there, you’ll name your budget, choose a reset period (monthly, quarterly, or annual), set an expiration date, and specify a spending limit. Azure checks your costs against this budget every 24 hours.
Set up multiple alert thresholds - for instance, 75% to prompt engineering to investigate, and 100% forecast for finance to escalate - to stay ahead of spending issues. Crucially, include at least one alert based on forecasted costs rather than actual spend. This way, you’ll get notified before you breach the budget. Notifications for budget alerts are typically sent within an hour of the evaluation triggering the threshold.
For less critical environments, you can take it a step further by linking a budget alert to an Azure Monitor Action Group. This setup enables automation, such as triggering a Runbook or Logic App to shut down non-essential virtual machines when an 80% threshold is reached. This eliminates the need for manual intervention.
"Budgets in Cost Management help you plan for and drive organisational accountability." - Microsoft Learn
Once alerts are in place, the next focus is managing accountability through cost governance practices.
Cost Governance Best Practices
Budgets and alerts are only as effective as the data they rely on. That’s why clean, well-organised cost data is critical for holding teams accountable.
Start with a consistent tagging strategy. Every resource should be tagged to clarify ownership, its environment, and the project or cost centre it supports. The table below provides a simple yet effective tagging framework:
| Tag | Purpose | Example Values |
|---|---|---|
CostCenter |
Links spending to finance departments | CC-1001, CC-2050 |
Environment |
Differentiates production from dev/test | Production, Development |
Owner |
Identifies the responsible team/person | platform-team, admin@company.com |
Application |
Groups resources by business application | ERP, CRM, DataPlatform |
However, enforcing tagging can be tricky, especially for smaller teams. This is where Azure Policy comes in. It can block the deployment of any resource that doesn’t include the required tags, ensuring every resource is properly attributed from the moment it’s created.
Lastly, assign a Directly Responsible Individual (DRI) to each major cost area. This person is accountable for monitoring spend, responding to alerts, and acting on recommendations from tools like Azure Advisor. Without clear ownership, even the best tools and processes can be overlooked.
Advanced Cost Optimisation Features and Integrations
Advanced Features for Cost Optimisation
Once you've set budgets and governance structures, advanced tools can take your cost management to the next level. By integrating solutions like Power BI and the Exports API, you can gain deeper insights and greater control over your spending, far beyond what the Azure portal alone provides.
For example, exporting cost data to Power BI enables you to create tailored reports. By connecting Power BI to Azure cost exports in ADLS Gen2, you can generate up-to-date custom reports using FinOps Toolkit templates. Here are four particularly useful reports for small and medium-sized businesses (SMBs):
| Report Name | What It Shows |
|---|---|
| Cost Summary | An overview of amortised costs with common breakdowns |
| Rate Optimisation | Savings from existing and potential commitment discounts |
| Workload Optimisation | Insights on reducing resource waste and usage inefficiencies |
| Policy & Governance | Compliance, security, and resource management posture |
The Exports API is another powerful tool, allowing you to automate cost data ingestion for dashboards or internal financial allocations. If you're working with large-scale environments, it's a good idea to limit date ranges to daily or weekly exports to keep file sizes manageable.
Azure Policy adds another layer of cost governance. While budgets and alerts notify you after overspending, Azure Policy helps you prevent it altogether. As Andrew Luckwell, Copper Contributor, put it:
"Detection becomes Prevention. Removal becomes Control."
With Azure Policy, you can enforce rules such as blocking oversized VM SKUs, mandating locally redundant storage, or requiring resource tagging. When introducing new policies, start with the "Audit" effect to highlight non-compliant resources without disrupting workflows.
Aligning Cost Management with FinOps
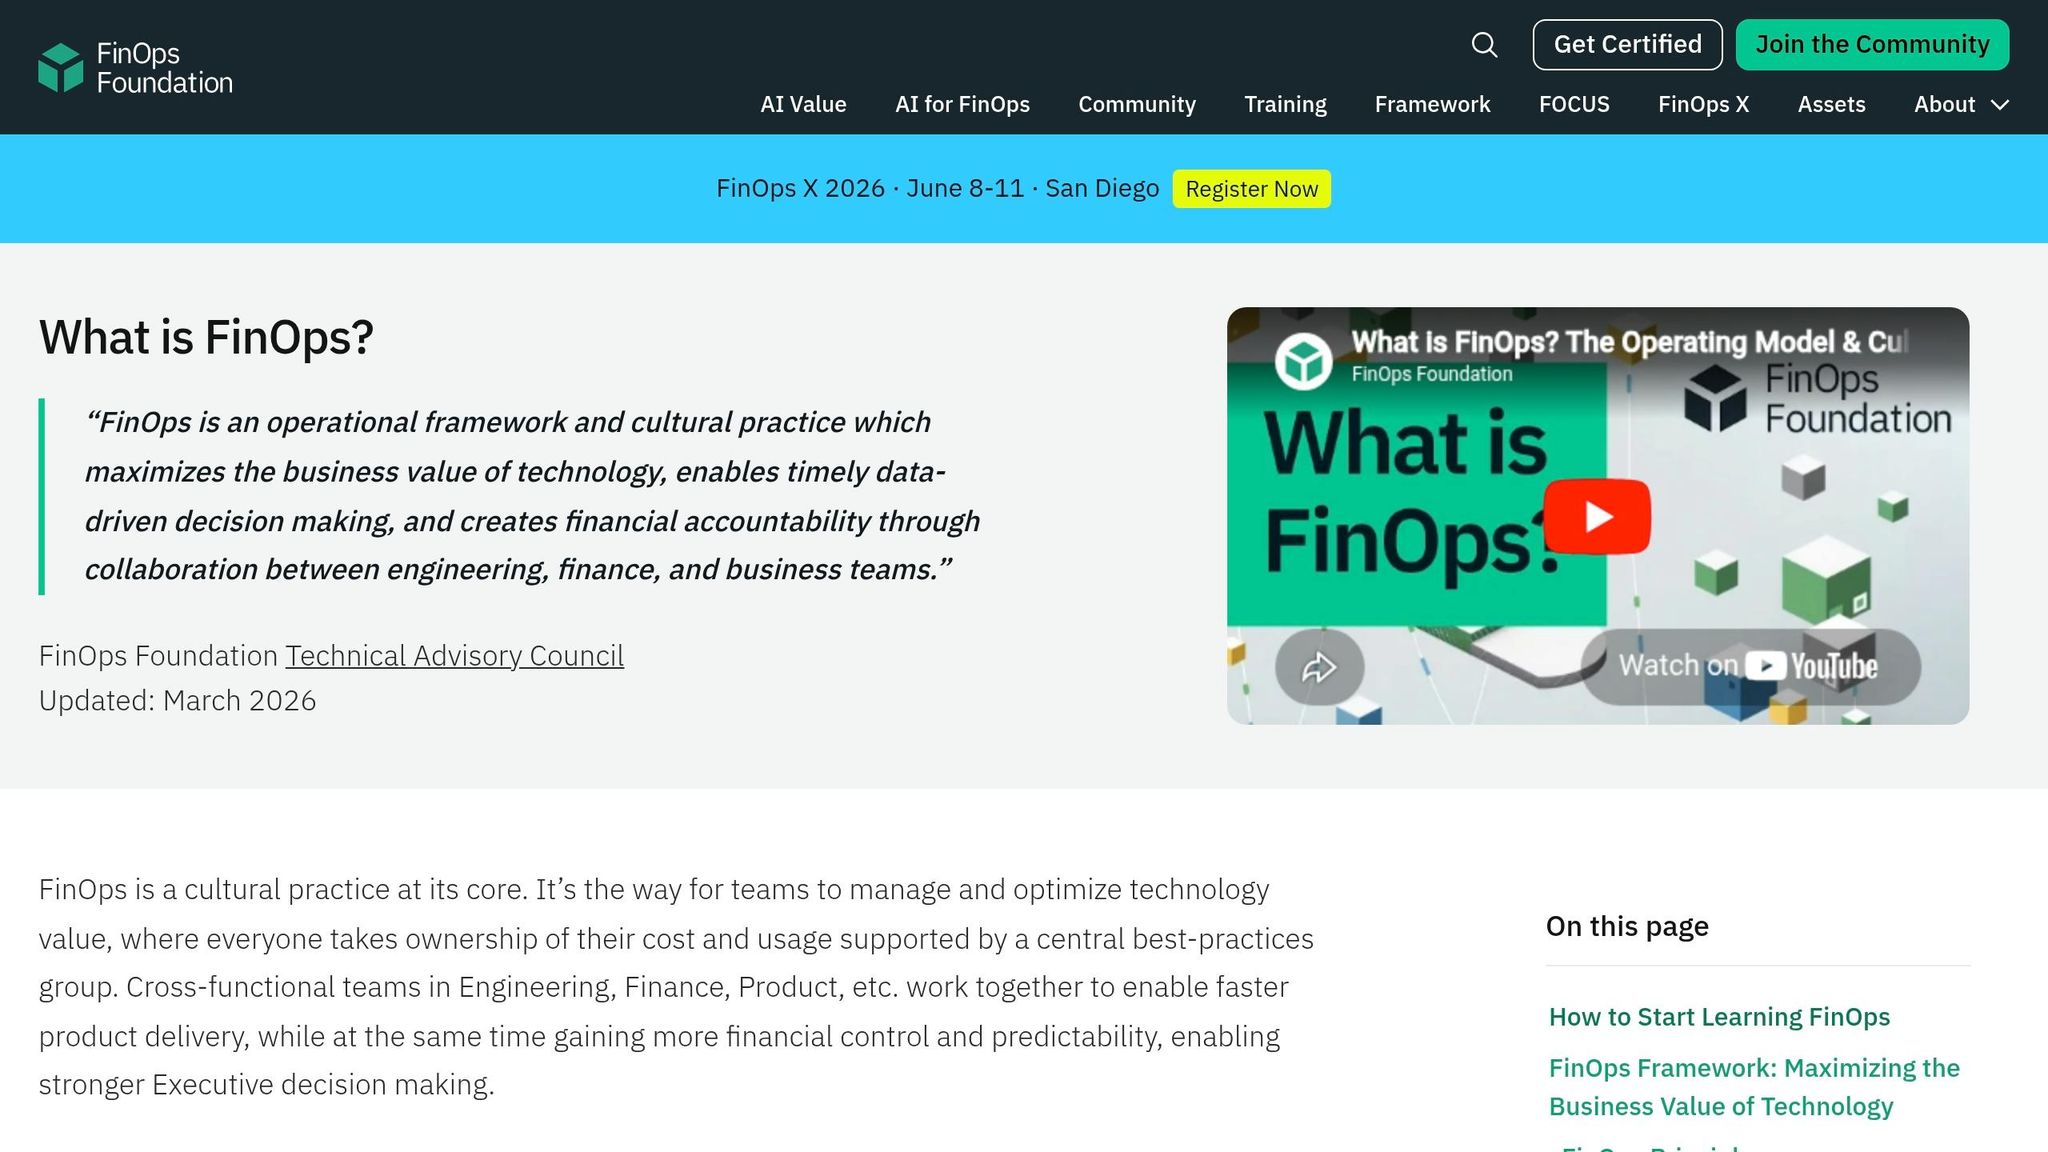
FinOps (Financial Operations) focuses on aligning cloud spending with business goals. Azure's native tools integrate seamlessly into the FinOps framework, helping you prioritise spending based on your organisation's objectives. For environments that scale quickly, embedding Azure Policy into a Landing Zone ensures that every new subscription is created with cost controls already in place.
For more practical advice on building a FinOps strategy with Azure, check out the Azure Optimization Tips, Costs & Best Practices blog. It offers SMB-friendly tips on everything from commitment discounts to architectural choices that can reduce long-term costs. These advanced tools and techniques round out the resources SMBs need to master Azure cost management.
Conclusion: Taking Control of Azure Costs as an SMB
Managing Azure costs effectively boils down to four key elements: visibility, accountability, proactive budgeting, and automation. Without clear insights into your spending, any attempt to optimise becomes little more than guesswork.
The statistics highlight why this matters. On average, organisations waste 28% of their cloud budgets. Meanwhile, tools like Azure Advisor can identify savings opportunities worth approximately £2,300 per month for a single enterprise subscription. Even small adjustments, such as scheduling a virtual machine (VM) to operate only during business hours instead of running 24/7, can cut costs by 64%. Over time, these savings can add up to a significant reduction in cloud expenses.
Dan J Sturdivant, Vice President at Datapath, explains the goal perfectly:
"The point is not to make Azure as cheap as possible. The point is to make cloud spending intentional, explainable, and aligned to business value."
This quote drives home the idea that the focus should shift from merely cutting costs to achieving a clear understanding of where and why money is being spent. Moving from reactive spending habits to proactive cost management is what allows SMBs to scale with confidence. Regular reviews - daily checks for anomalies, weekly budget comparisons, and monthly deep dives into trends and Azure Advisor recommendations - are essential to maintaining control.
For SMBs looking to dig deeper, the Azure Optimisation Tips, Costs & Best Practices blog provides actionable advice on topics like commitment discounts, architectural strategies, and FinOps practices - all designed to help you build on the principles outlined in this guide.
FAQs
Which Azure scope should I use to track costs for my business?
To keep an eye on costs efficiently, it's important to pick a scope that aligns with how your business is organised. A scope - whether it's a management group, subscription, or resource group - sets the limits for how you view and manage cost-related data.
If you're tracking several projects or business units, a management group scope offers a broader perspective. For more focused tracking, like monitoring individual teams or specific projects, go for subscription or resource group levels. Remember, assigning roles at higher scopes automatically provides access to the scopes nested within them.
How can I ensure all resources are properly tagged for cost reporting?
To handle cost reporting effectively, follow this three-step approach:
- Establish consistent tagging conventions: Use key categories such as business unit, environment, and project to organise your resources clearly.
- Enforce tagging standards: Use Azure Policy to prevent the deployment of untagged resources, ensuring compliance with your conventions.
- Enable tag inheritance: In Azure's Cost Management settings, activate tag inheritance to automatically apply tags from subscriptions and resource groups. This saves time and improves tag coverage by reducing manual tagging efforts.
What automations can stop overspending when a budget is nearly reached?
To help avoid overspending as you approach your budget limit, set up Azure Monitor Action Groups to trigger automated actions. By linking budgets to action groups, you can utilise Azure Logic Apps or Automation Runbooks for cost management. For instance, you could automate the shutdown of virtual machines when you hit 80% or 100% of your budget. Additionally, Logic Apps can send notifications to teams, log relevant data, or even start approval workflows, giving you better control over your expenses.