Scaling Azure HPC Workloads Without Overspending
Learn how to efficiently scale Azure HPC workloads while minimising costs through strategic resource management and optimisation techniques.

Want to scale Azure high-performance computing (HPC) workloads while keeping costs in check? Here’s how:
- Analyse your needs: Understand CPU, memory, storage, and network demands before deployment. Use tools like Azure Monitor for insights.
- Choose the right resources: Select virtual machine (VM) sizes and storage tiers that match your workload. Avoid over-provisioning.
- Leverage cost-saving options: Use reserved instances for predictable workloads and spot pricing for flexible tasks.
- Test before scaling: Run small-scale tests to optimise performance and costs.
- Optimise storage: Use tiered storage (hot, cool, archive) based on data access frequency.
- Implement auto-scaling: Tools like Azure Batch and CycleCloud help scale resources dynamically while managing costs.
- Track and control costs: Use Azure Cost Management to set budgets, alerts, and allocate resources wisely.
Quick Tip: Proper planning can reduce Azure HPC costs by up to 45%. Start small, monitor usage, and scale smartly.
For a detailed breakdown of strategies, including storage and compute tips, keep reading.
High Performance Computing in Azure - with Mark Russinovich
HPC Cost Planning Basics
Careful planning and resource allocation can help lower Azure HPC costs by up to 45%.
Analysing Resource Needs
Start by profiling your workloads to understand resource demands:
- CPU usage: Track both peak and average utilisation
- Memory usage: Measure the working set size and monitor memory growth over time
- Storage I/O: Assess read/write patterns and throughput
- Network activity: Examine bandwidth requirements and data transfer volumes
Use Azure Monitor over a two-week period to collect detailed metrics on these usage patterns and identify peak demands.
Choosing the Right VM Sizes
Use your workload analysis to pick VM sizes that align with specific requirements:
- For CPU-heavy tasks, go for compute-optimised instances and consider cost-saving options like spot instances
- For memory-demanding workloads, select memory-optimised instances and explore reserved instance pricing
- For GPU-based computations, choose GPU-enabled instances and take advantage of any cost benefits
Avoid defaulting to the largest instances. Often, several smaller VMs can be more cost-efficient than fewer large ones.
Testing Workloads Before Deployment
Before scaling up, test a smaller version of your workload:
- Start with the smallest suitable VM for a small subset of your workload. Run it for 48 hours, monitoring performance and costs.
- Gradually scale up while recording performance improvements and expenses, including compute costs, storage transaction fees, data transfer charges, and other service-related costs.
These tests will help you fine-tune your scaling strategy without unnecessary spending.
For further tips on optimising Azure HPC workloads and managing costs, check out Azure Optimization Tips, Costs & Best Practices.
Storage Cost and Performance Balance
Choosing the right storage for Azure HPC workloads means finding a balance between performance and budget. By making smart storage decisions and using data tiering effectively, small and medium-sized businesses can cut costs while ensuring the performance they need.
Storage Option Comparison
- Offers multiple tiers to suit different performance requirements.
- The premium tier is built for high-throughput, low-latency tasks.
- The standard tier is a cost-effective choice for less urgent data, with built-in replication for reliability.
- Provides extremely high performance with low latency, tailored for intensive data operations.
- Includes performance tiers designed to meet specific HPC workload needs.
In addition to choosing the right storage type, using data tiering can further optimise costs.
Data Tier Management
A solid data tiering strategy can help manage storage expenses effectively. Here’s a breakdown of the tiers:
Hot Storage Tier
- Best for data that’s accessed frequently.
- Delivers top performance with immediate availability.
Cool Storage Tier
- Works well for data accessed occasionally, such as monthly or quarterly.
- Reduces costs compared to the hot tier while maintaining reasonable access speeds.
Archive Tier
- The most budget-friendly option for rarely accessed data.
- Retrieval times are longer, making it ideal for long-term storage.
Storage Solutions Matrix
| Workload Type | Recommended Storage | Key Benefits | Savings Tips |
|---|---|---|---|
| Real-time Processing | Premium Blob Storage | Fast, low-latency access | Use auto-tiering and monitor usage regularly |
| Batch Processing | Standard Blob Storage | Cost-effective for large data volumes | Set up automated lifecycle management |
| High-Performance Computing | Azure NetApp Files | Ultra-low latency for demanding tasks | Plan capacity and consider reservations |
| Data Archives | Archive Storage | Most affordable for infrequent access | Schedule retrieval during off-peak hours |
Using automated policies to move data between tiers based on how often it’s accessed can help organisations save money without sacrificing performance. These storage strategies align with broader HPC cost management efforts.
For more tips on optimising Azure HPC expenses and managing costs effectively, check out Azure Optimization Tips, Costs & Best Practices.
Compute Resource Auto-Scaling
Efficient auto-scaling is key to optimising compute resources and managing costs effectively. By selecting the right solution, small and medium-sized businesses (SMBs) can balance high-performance computing (HPC) needs with budget constraints.
Azure Batch Implementation

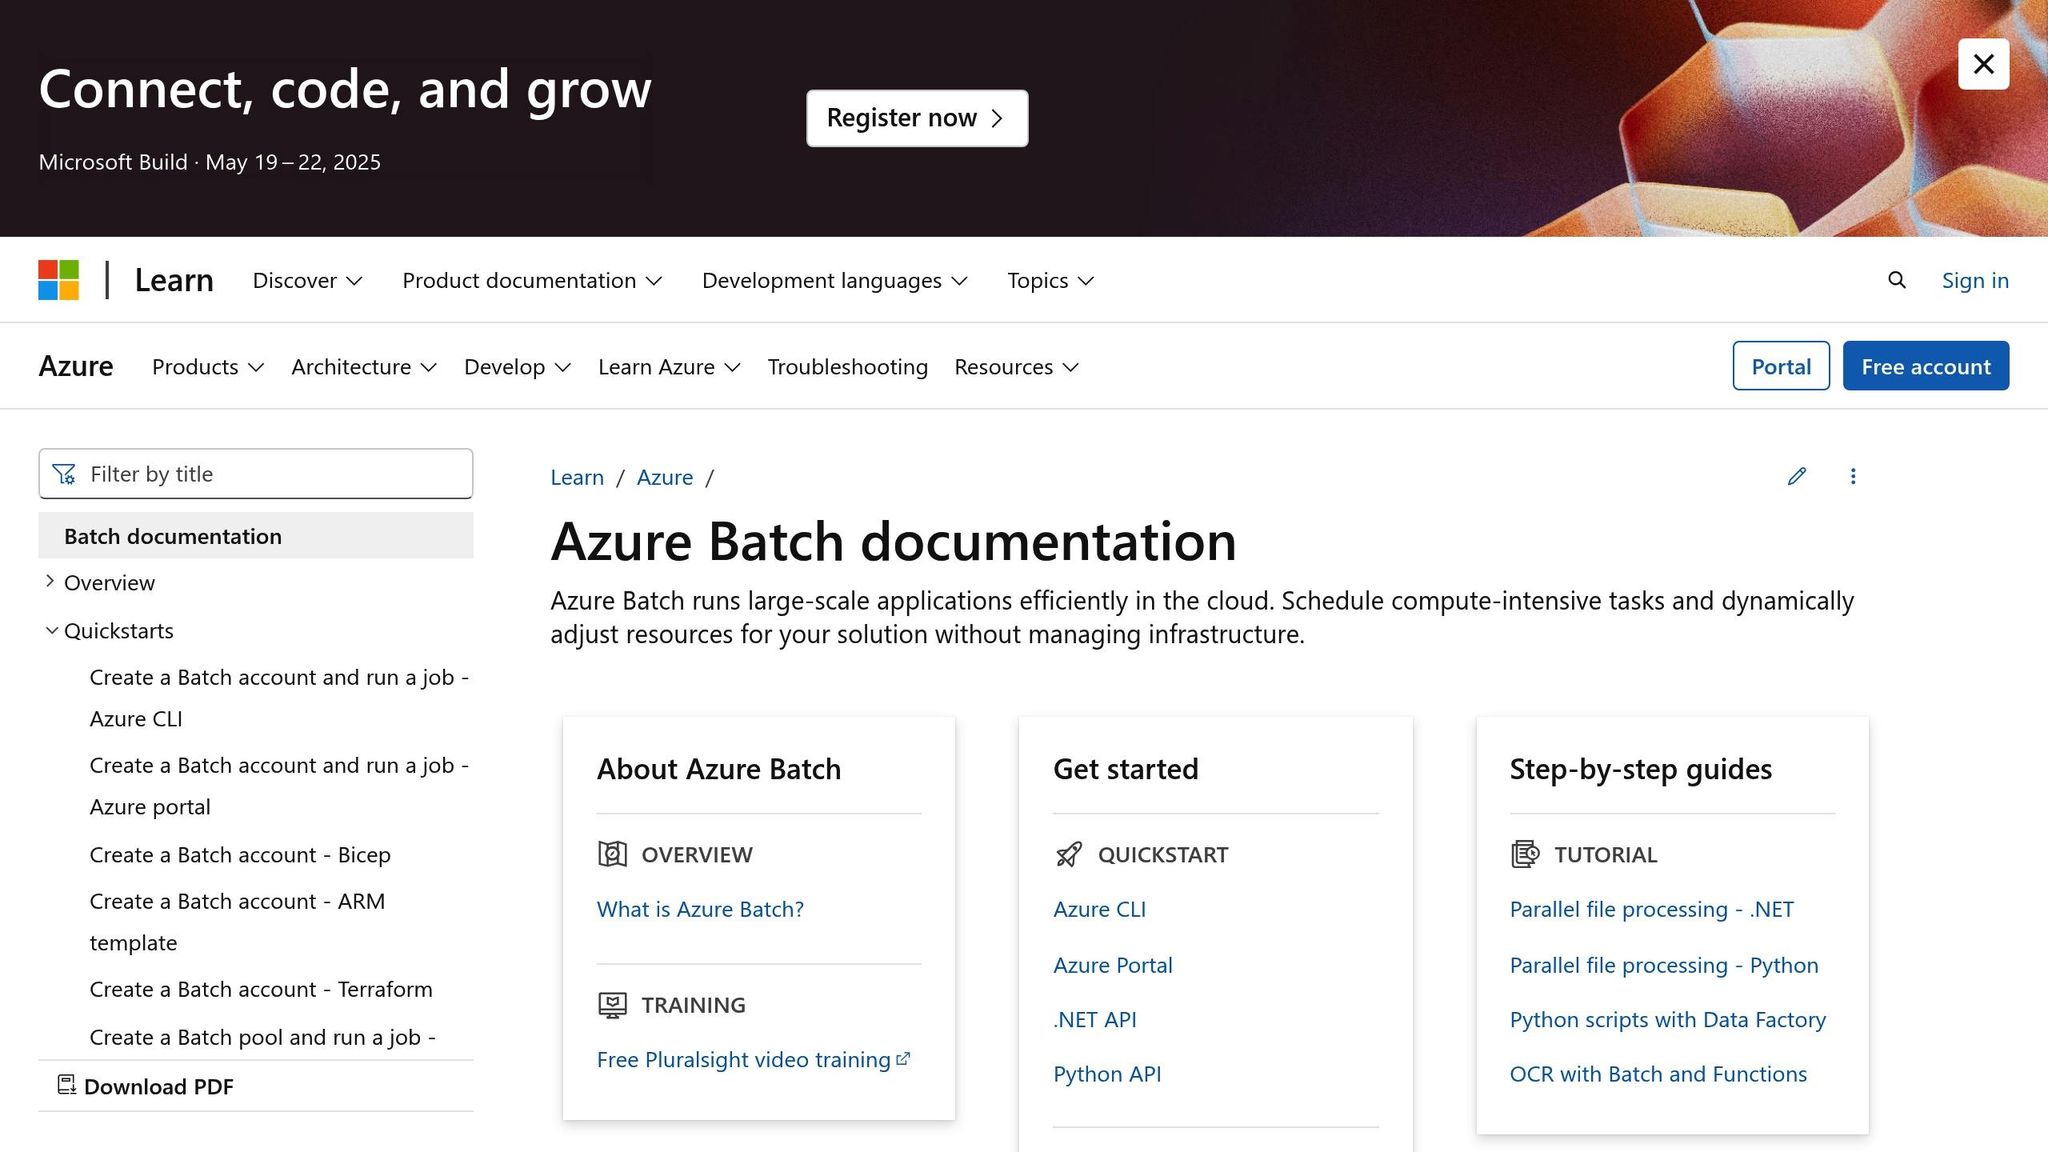
Azure Batch simplifies the management of HPC workloads by automating task scheduling and resource allocation. It handles job queuing, provisioning of compute resources, and task execution seamlessly.
Key Configuration Steps:
- Formula-based Scaling: Define node counts based on pending tasks, set scaling intervals to 15 minutes, and establish minimum and maximum node limits.
Cost-saving Features:
- Automatically deallocates nodes when tasks are complete.
- Supports low-priority virtual machines (VMs) to reduce expenses.
- Includes built-in scheduling to optimise resource use.
Azure CycleCloud Setup

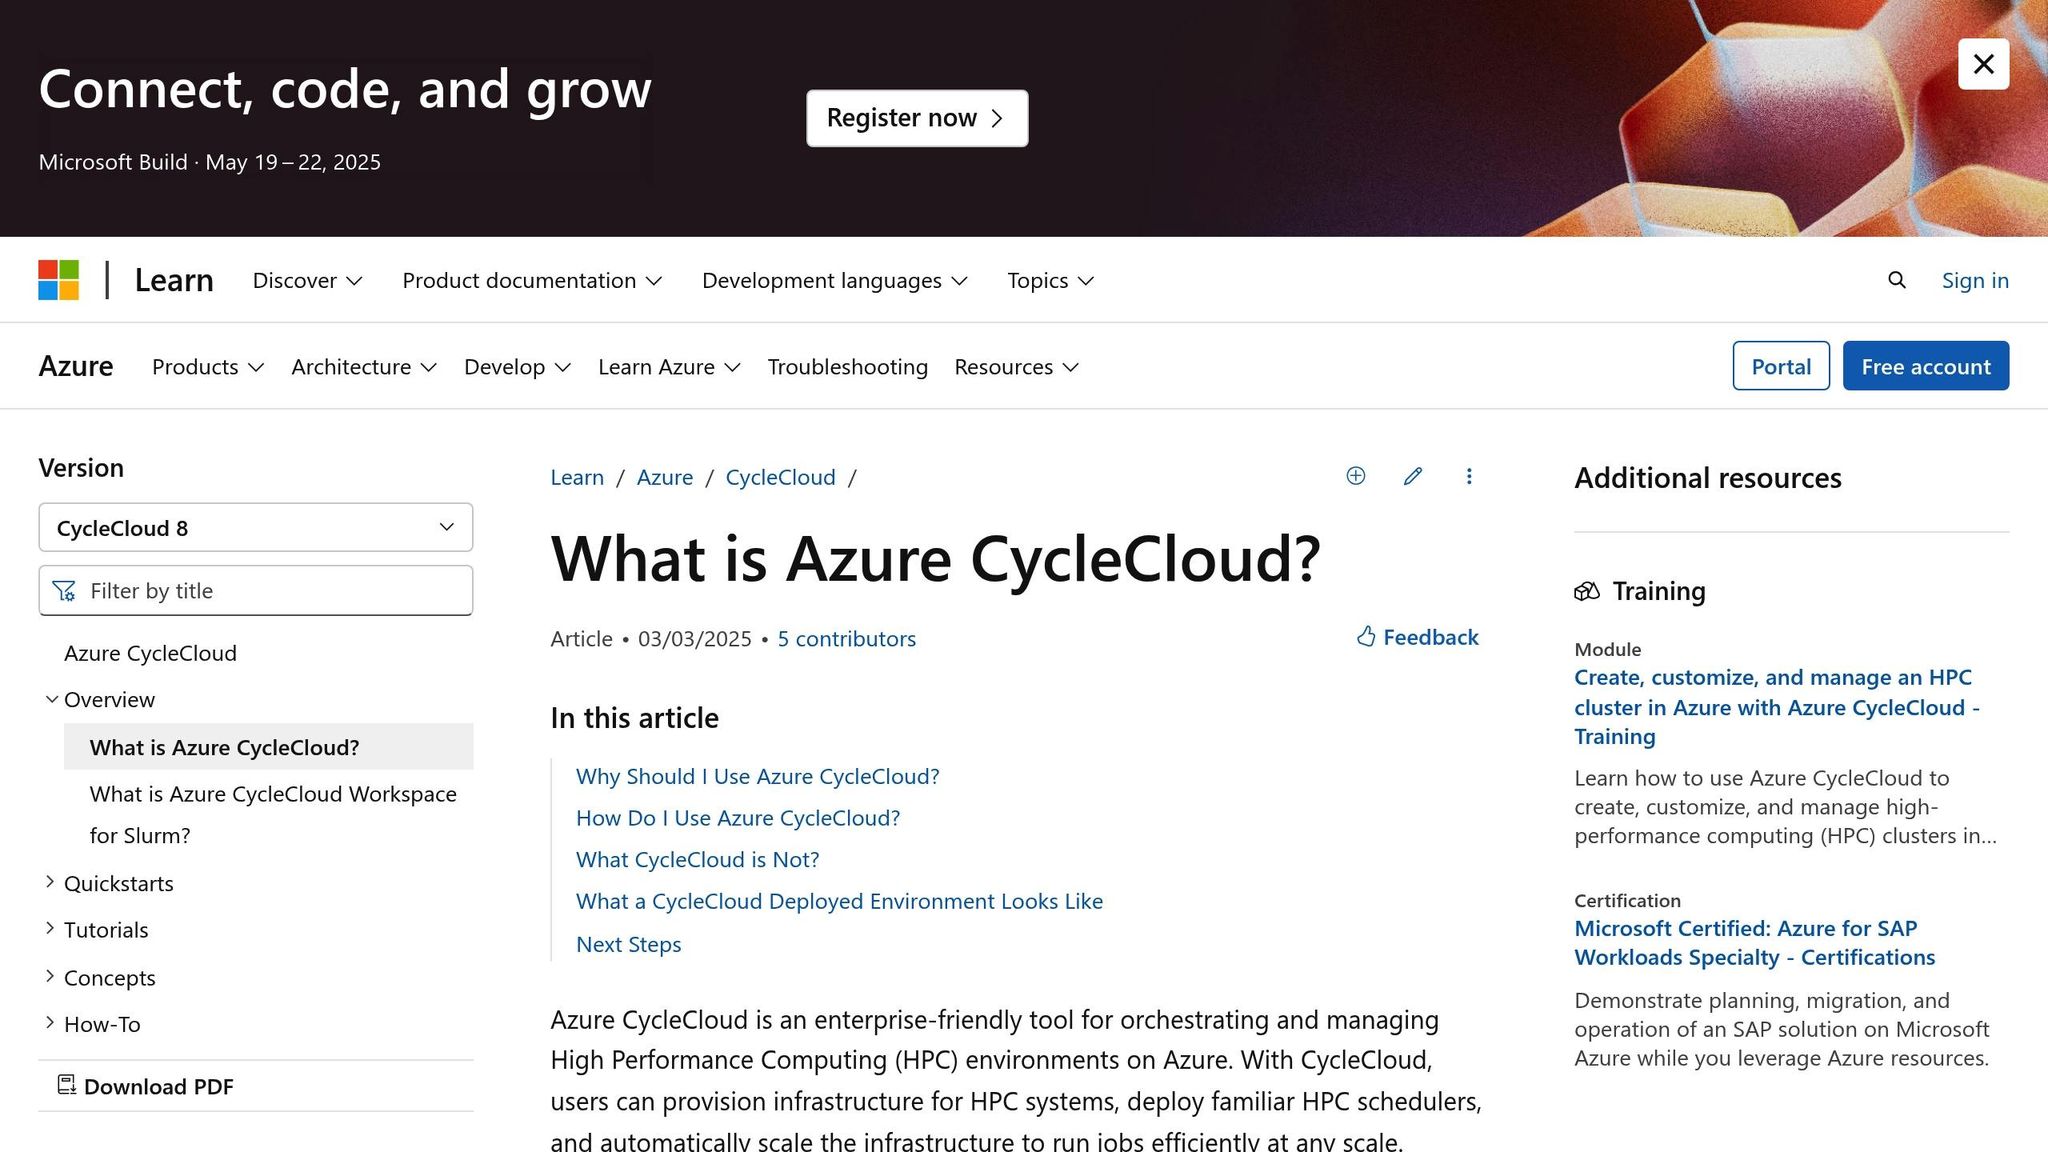
For more complex or tailored HPC cluster setups, Azure CycleCloud offers advanced customisation options. It’s designed for scenarios where detailed configurations are essential.
Essential Components:
- Predefined cluster templates for typical HPC scenarios.
- Policy-based auto-scaling rules for precise control.
- Seamless integration with existing scheduling tools.
| Feature | Configuration Options | Cost Impact |
|---|---|---|
| Node Arrays | Adjust size dynamically by workload | Cuts down idle time costs |
| Placement Groups | Optimises instance distribution | Enhances resource efficiency |
| Auto-termination | Set idle time limits | Avoids unnecessary runtime costs |
Batch vs CycleCloud Comparison
| Aspect | Azure Batch | Azure CycleCloud |
|---|---|---|
| Setup Complexity | Easier - managed service | More complex - customisable |
| Cost Structure | Pay-per-job model | Infrastructure-based pricing |
| Customisation | Limited to service settings | Extensive cluster options |
| Management Overhead | Minimal | Requires active management |
| Best For | Standard HPC workloads | Complex, customised environments |
Additional Cost-Optimisation Tips
- Configure automatic shutdown for idle nodes to eliminate waste.
- Use spot instances for workloads that aren’t time-sensitive.
- Regularly monitor usage patterns to fine-tune scaling rules.
For more insights on managing Azure HPC costs and implementing effective scaling strategies, check out Azure Optimization Tips, Costs & Best Practices.
Cost Tracking and Control
Tracking and managing costs effectively helps organisations stay within budget while maintaining performance.
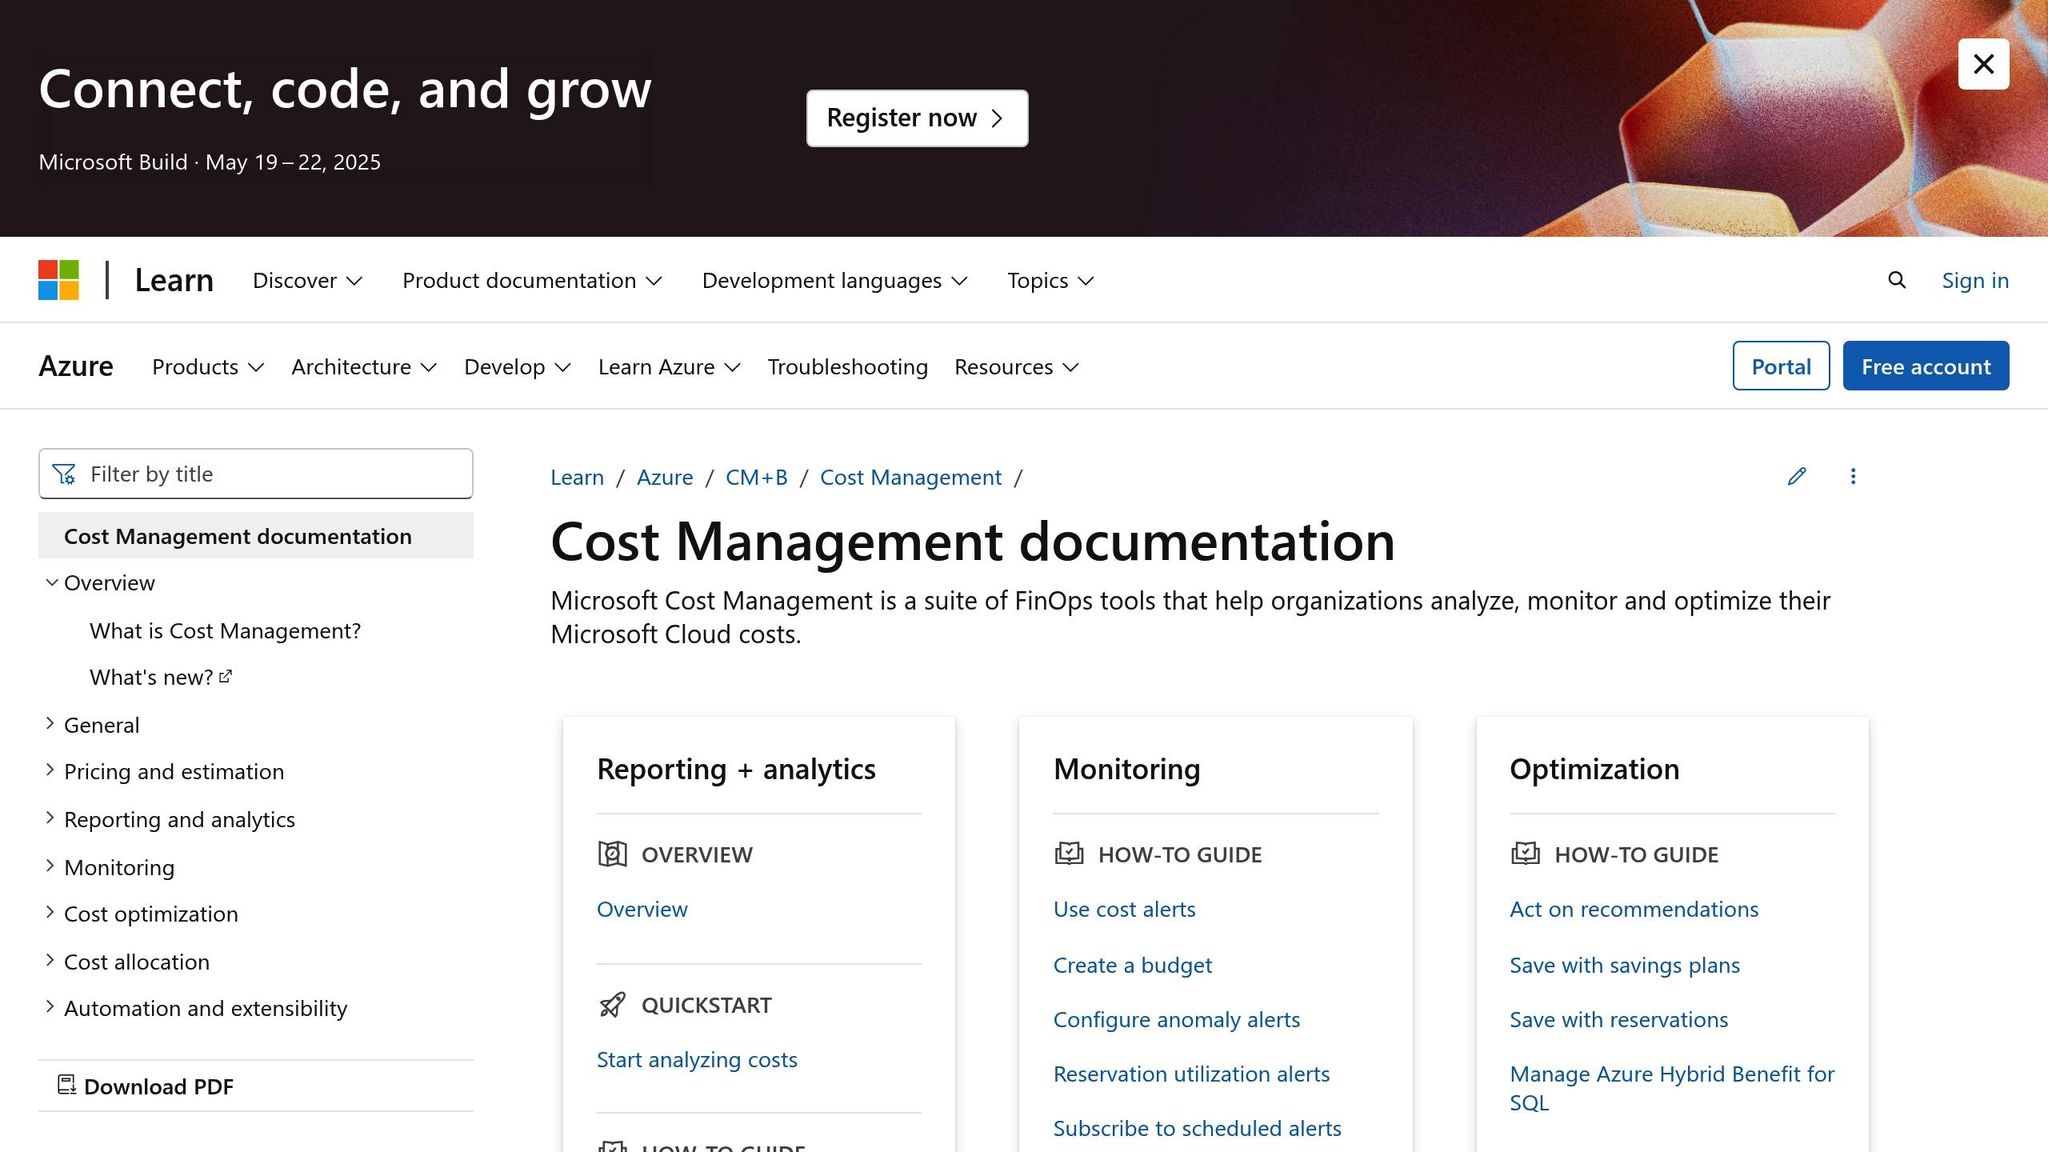
Azure Cost Management Setup

Azure Cost Management offers tools to monitor and control cloud expenses. Here’s how to set up a cost management strategy:
-
Configure Cost Alerts: Set alerts at 75%, 90%, and 100% of your monthly budget. These thresholds help you act before overspending occurs.
Alert Level Threshold Suggested Action Warning 75% Review resource usage Critical 90% Optimise resources immediately Emergency 100% Trigger automated scaling down - Budget Implementation: Create department-specific budgets and schedule automated reports every two weeks. This keeps stakeholders informed and ensures accountability.
Once this setup is in place, align your instance choices with these strategies to better manage costs.
Reserved and Spot Instance Usage
Choose the right pricing model to reduce costs for high-performance computing (HPC) workloads:
- Reserved Instances: Best for predictable workloads that run over long periods. Committing to a 1-year term can cut costs by up to 45%, making it ideal for baseline computational needs.
-
Spot Instances: Perfect for flexible, interruptible tasks like batch processing. These can save up to 90% compared to pay-as-you-go rates. To handle interruptions, use automatic checkpointing.
Instance Type Best For Reserved Consistent workloads Spot Batch processing Pay-as-you-go Variable needs
Cost Reduction Methods
Lower HPC expenses with these methods:
-
Resource Optimisation:
- Schedule automatic VM shutdowns during non-working hours.
- Move rarely accessed data to cooler storage tiers with data lifecycle management.
- Use Azure’s cost allocation tags for detailed spending insights.
-
Policy Controls:
- Set spending limits and enforce resource quotas.
- Require tagging policies for better cost allocation.
For more details on cost management strategies, visit Azure Optimization Tips, Costs & Best Practices for tailored advice for small and medium-sized businesses.
Summary and Next Steps
Scaling Azure HPC workloads requires careful resource management and ongoing monitoring. Here’s a clear roadmap to guide you through the process:
| Phase | Focus | Actions |
|---|---|---|
| Planning | Analysis | Identify workload requirements and needs. |
| Testing | Validation | Run scaled tests and check performance metrics. |
| Implementation | Auto-scaling | Deploy the selected scaling solution. |
| Monitoring | Cost Control | Set up budget tracking and monitoring tools. |
These phases incorporate the resource planning, auto-scaling, and monitoring techniques covered earlier.
- Start with Resource Planning: Analyse your HPC workload requirements to determine resource needs.
- Test Scaled Workloads: Run smaller-scale tests to verify performance and cost efficiency.
- Deploy Auto-scaling Solutions: Choose between Azure Batch or CycleCloud, depending on workload complexity, scheduling, and team expertise.
- Set Up Cost Controls: Use Azure Cost Management to establish budget alerts and review spending patterns regularly.
For more detailed instructions and the latest tips on optimising Azure, check out Azure Optimization Tips, Costs & Best Practices.
FAQs
How can I use Azure Monitor to evaluate my HPC workload requirements before scaling?
Azure Monitor is a powerful tool for assessing your HPC workloads before scaling. By analysing metrics such as CPU utilisation, memory usage, and network performance, it provides valuable insights into how your resources are currently being used. This helps you identify bottlenecks or underutilised resources.
To get started, set up monitoring for your HPC workloads and configure alerts for key metrics. This ensures you can spot trends and make informed decisions about scaling up or down. By proactively managing resource usage, you can optimise performance while keeping costs under control.
What are the main differences between Azure Batch and Azure CycleCloud for managing HPC workloads, and how can I decide which is best for my needs?
Azure Batch and Azure CycleCloud are both powerful tools for managing HPC workloads, but they serve different purposes and cater to distinct needs. Azure Batch is ideal for running large-scale parallel and batch computing jobs. It automatically scales resources, manages job scheduling, and simplifies the execution of high-performance tasks without requiring extensive infrastructure management. This makes it a great choice for straightforward, compute-intensive workloads.
Azure CycleCloud, on the other hand, is designed for building, managing, and orchestrating HPC clusters. It provides more control over cluster configuration, integrates with a wide range of HPC schedulers, and is suited for complex workloads that require custom environments or specific software configurations.
To choose the right option, consider your workload requirements. If you need a managed service for running jobs at scale with minimal setup, Azure Batch is likely the best fit. If you require custom HPC cluster setups or need to integrate with existing on-premises environments, Azure CycleCloud may be more suitable.
How can I optimise storage costs while ensuring high performance for Azure HPC workloads?
To optimise storage costs for Azure HPC workloads while maintaining performance, consider the following strategies:
- Select the right storage tier: Use Azure's cost-effective storage tiers, such as Standard HDD or Standard SSD, for data that doesn't require high performance. Opt for Premium SSD or Ultra Disk only for workloads demanding low latency and high throughput.
- Leverage data archiving: Move infrequently accessed data to Azure Blob Storage's Cool or Archive tiers, which are significantly cheaper than hot storage.
- Enable auto-scaling: Use Azure's built-in auto-scaling features to dynamically adjust storage resources based on workload demands, avoiding over-provisioning.
By carefully matching storage types to workload needs and utilising Azure's cost-saving features, you can achieve a balance between performance and budget efficiency.


