How to Set Up Real-Time Cost Alerts in Azure
Learn how to set up real-time cost alerts in Azure to monitor spending, avoid unexpected bills, and take timely action when costs approach limits.
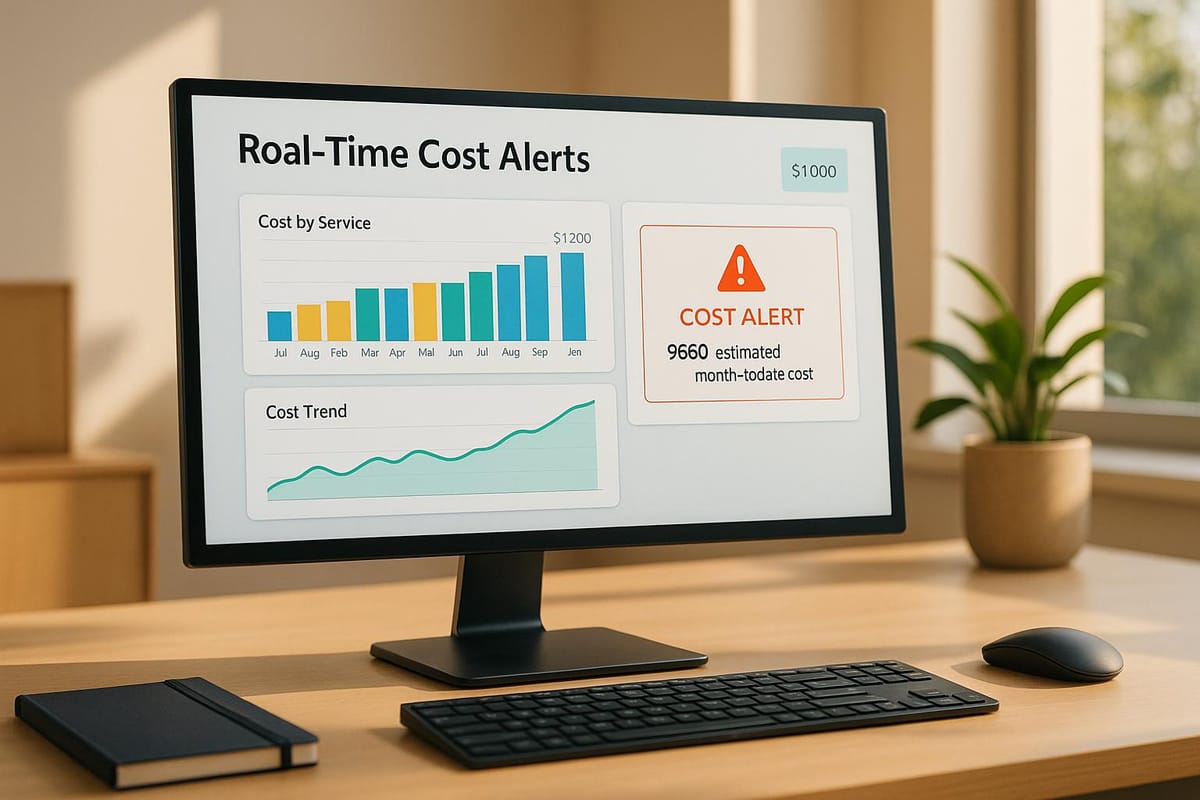
Azure’s real-time cost alerts help you monitor spending and avoid unexpected bills. They notify you when costs approach or exceed set limits, enabling timely action. Here's what you need to know:
- Types of Alerts: Budget alerts (spending limits), credit alerts (prepaid balance), and department spending quota alerts.
- How It Works: Alerts trigger based on actual or forecasted spending and notify via email, SMS, or webhooks.
- Setup Requirements: Correct permissions (e.g., Contributor role), defined monitoring scope (management group, subscription, or resource group), and notification recipients.
- Steps to Configure:
- Access Cost Management + Billing in the Azure portal.
- Define budgets (name, time period, amount, reset period).
- Set alert thresholds (e.g., 50%, 75%, 90% of budget).
- Configure notification channels (emails, action groups, or webhooks).
- Review and activate alerts.
Advanced Options: Automate responses using Action Groups (e.g., shutting down unused resources) and use forecasted alerts to predict overspending. Localise settings for UK teams by selecting GBP (£) and British formats.
How to Configure Azure Budgets and Costs Alerts in Azure Portal | Cost Management & Billing
Prerequisites for Setting Up Real-Time Cost Alerts
Before you jump into setting up real-time cost alerts, it’s important to get a few things in order. You'll need to confirm you have the right permissions, decide on your monitoring scope, and identify who should receive the alerts. Taking care of these basics upfront can save you headaches later.
Required Permissions in Azure
To configure cost alerts, your account must have the necessary permissions for cost management tasks. Azure uses a role-based access control (RBAC) system to determine what actions you can perform.
The permissions you need depend on whether you’re simply viewing budgets or actively creating and managing them:
- To view budgets, you need at least read access to your Azure account.
- To create or manage budgets, you’ll need contributor permissions or higher.
Here’s a quick breakdown of roles and their permissions for alerts:
| Role | Alerts Permission |
|---|---|
| Owner | Read, Update |
| Contributor | Read, Update |
| Reader | Read only |
| Cost Management Reader | Read only |
| Cost Management Contributor | Read, Update |
Owner permissions give you full control to create, modify, or delete budgets for a subscription. Contributor and Cost Management Contributor roles let you manage your own budgets and adjust budgets created by others. On the other hand, Reader and Cost Management Reader roles limit you to viewing budgets you’re authorised to access.
If you need access across multiple subscriptions, ensure you have at least read permissions at the management group, subscription, or resource group level. To grant permissions to others, you’ll need User Access Administrator or Owner rights.
Choose Your Monitoring Scope
Your monitoring scope determines which Azure resources are included in your cost alerts. Azure offers three main scopes for resource management: Management groups, Subscriptions, and Resource groups, each catering to different organisational needs.
- Management groups sit at the top of Azure’s hierarchy and are ideal for large organisations managing multiple subscriptions. They provide a consolidated view of spending across teams or departments.
- Subscriptions are suitable for medium-sized businesses or specific projects. Many UK-based small and medium businesses (SMBs) use subscriptions to separate production and development environments, making it easier to track costs by function.
- Resource groups allow the most detailed monitoring. They’re perfect for tracking costs at the application or service level, especially for individual projects or client work.
For the best results, structure your Azure environment logically. Start with management groups for overarching control, then assign subscriptions for different workloads like production and development. Finally, use resource groups within subscriptions to manage specific components or subsystems. This hierarchy ensures your cost alerts reflect how your business operates.
Set Up Notification Recipients
Deciding who receives cost alerts is just as important as setting the alert thresholds. Azure supports various notification methods, including email, SMS, and webhooks, so you’ll need to outline a clear notification strategy.
Start by mapping out who needs to know about cost alerts and how they should be notified. For instance, finance directors might need all budget alerts via email, while development leads only receive alerts for their specific resource groups. Critical alerts may require multiple recipients and communication channels.
Action groups are a flexible way to manage notifications. These groups let you define multiple recipients and methods in one place, which you can reuse across different alerts. You might create one action group for finance teams and another for technical teams, tailoring each to their specific needs.
Timing is also key. Many UK businesses prefer receiving cost alerts during standard business hours (9:00 AM to 5:00 PM GMT) to ensure timely responses. However, for critical systems, 24/7 alerts via SMS or webhook integrations with incident management tools might be necessary.
Keep in mind that Azure RBAC controls who can receive alerts. Even if someone is added to an action group, they’ll only get alerts for resources they’re permitted to view.
Step-by-Step Guide to Configuring Real-Time Cost Alerts
Once you've set up the necessary permissions and decided on your notification strategy, you're ready to create cost alerts. This process involves five steps, each designed to ensure your alerts are accurate and functional.
Access Cost Management and Billing
Log in to the Azure portal and search for "Cost Management + Billing". This will open the main cost management interface, where you can configure budgets and alert settings.
If your organisation uses multiple billing accounts or subscriptions, you'll find a "Billing scopes" option in the left-hand menu. Use this to select the specific scope you want to work with, such as a subscription, resource group, or management group. If you only have one billing scope, you'll instead see a "Properties" option, which shows details about your account type.
Missing billing information? Reach out to your billing administrator to resolve the issue.
Once you're in the right scope, you can start defining your budget.
Set Budget Parameters
Go to the "Budgets" section in the left-hand menu of the Cost Management + Billing interface. Click "Add" to create a new budget. You'll need to fill in the following details:
- Budget Name: Choose a clear, descriptive name like "Production Environment Q4 2025" or "Development Team Monthly Limit" to easily identify it later.
- Time Period: Select a timeframe - monthly, quarterly, or annually. Many small and medium-sized businesses in the UK prefer monthly budgets as they align well with cash flow and reporting practices.
- Budget Amount (£): Base this on your historical Azure spending patterns, adding a buffer for growth. For instance, if your average monthly spend is £2,500, you might set a budget of £3,000 to account for seasonal variations or planned expansions.
- Reset Period: Choose a reset period that matches your organisation's financial tracking and reporting cycles.
With your budget set, the next step is to configure alert thresholds.
Create Alert Thresholds
Azure lets you define up to five alert thresholds for each budget, each triggered at a specific percentage of your spending. Here’s an example of how you might set them:
- 50% (forecasted costs): Early warning to monitor usage.
- 75% (actual costs): A heads-up that you're nearing your limit.
- 90% (actual costs): A critical alert to take immediate action.
Now, it's time to set up how and where these alerts will be sent.
Configure Notification Channels
For each alert threshold, you'll need to specify how notifications are delivered. You can do this by entering email addresses directly or using action groups for more advanced setups.
- Email Notifications: Add recipient email addresses and ensure azure-noreply@microsoft.com is on your approved senders list.
- Action Groups: Use these to combine multiple notification methods. For example, you could send an email to your finance director and an SMS alert to your technical lead simultaneously.
- Webhooks: Integrate with external systems like Microsoft Teams, Slack, or incident management platforms. This allows you to automate workflows, such as escalating alerts or triggering specific actions when spending crosses a threshold.
Review and Activate Alerts
Double-check all your settings, including the budget amount, thresholds, and notification details. Test the notification channels to ensure everything works as expected. If your budget scope doesn’t align with your monitoring needs - for example, if you've set a subscription-level budget but want to track only specific resource groups - adjust it accordingly.
When you're confident everything is set up correctly, click "Create" to activate your budget and alerts. From this point forward, your alerts will automatically trigger when spending reaches the thresholds you've configured, giving you real-time insights to manage your Azure costs efficiently.
Advanced Alert Options and Automation
Once you’ve got the basics of Azure cost management down, it’s time to take things up a notch with advanced automation tools. These features turn simple notifications into smart, automated responses that can help keep your budgets in check.
Use Action Groups for Automation
Action Groups allow you to group notifications and automated responses that kick in when cost alerts are triggered. They’re designed to immediately handle spending issues by executing predefined actions. What’s great is that a single Action Group can work across multiple alert rules, making it especially useful for organisations juggling various budgets.
Azure offers several action types for automation, including Automation Runbooks, Azure Functions, Logic Apps, Webhooks, and ITSM connectors. For instance, you could set up an Automation Runbook to automatically shut down non-critical virtual machines when 90% of your monthly budget is spent. To configure this, go to "Monitor" > "Action Groups" in the Azure portal, and add the actions you need - such as a Runbook to scale down resources and a webhook to notify your Microsoft Teams channel. When setting up budget alerts, link this Action Group instead of just adding email notifications.
It’s also essential to assign someone to oversee these automated responses. This ensures that any unexpected behaviour can be quickly addressed, maintaining control over your cost management strategy.
These advanced automation tools provide a proactive way to manage costs, building on the foundation of basic alerts.
Set Up Forecasted Cost Alerts
Forecasted cost alerts take your cost management a step further by predicting overspending before it happens. These alerts analyse your spending patterns and notify you if your current usage trends suggest you’re on track to exceed your budget. This gives you time to act before costs spiral out of control.
When configuring cost alerts, you’ll find options for both "Forecasted" and "Actual" alerts. Forecasted alerts act as an early warning system, helping you spot unusual spending trends and make adjustments before they impact your budget.
UK Localisation Settings
For UK-based teams, localising your cost alerts ensures they use familiar formats, making them easier to understand. Azure’s Budgets API supports the en-gb locale for alert emails, which means all amounts are displayed in pounds sterling (£), dates follow the DD/MM/YYYY format, and British English spellings are used.
When setting up your budgets, make sure to select GBP (£) as the currency instead of USD. This avoids confusion by displaying figures like £2,847.50 instead of $3,542.18, so your team knows exactly how much is being spent.
Additionally, date formats in alerts follow UK conventions (e.g., 15/07/2025), and numbers use commas for thousands and periods for decimals (e.g., £12,500.00). These settings align with UK financial reporting standards and help your finance team seamlessly integrate Azure spending into broader business expenses.
With these localisation features in place, your alerts will be clear and consistent, reducing misunderstandings and supporting better financial oversight across your organisation.
More Azure Cost Management Tips
In addition to setting up real-time cost alerts, small and medium-sized businesses (SMBs) can adopt several strategies to make the most of their Azure investment while keeping expenses in check. These approaches work hand in hand with your alert system to create a more comprehensive cost management framework.
Explore Azure Optimisation Tips and Best Practices
For SMBs aiming to refine their Azure cost management strategies, the Azure Optimization Tips, Costs & Best Practices blog is a valuable resource. Tailored specifically for businesses scaling on Microsoft Azure, it offers actionable advice on cloud architecture, security, and performance improvements that align perfectly with cost-saving goals.
This blog delves into practical methods that go beyond basic cost monitoring. It provides guidance on structuring your Azure environment to achieve both operational efficiency and cost-effectiveness. Whether you’re looking to fine-tune your infrastructure or address budget limitations, this resource can provide deeper insights to enhance your overall strategy.
Scale Smartly with Azure Services
Efficient scaling is about choosing Azure services that grow with your business while keeping costs manageable. Here are some strategies to consider:
- Reserved Instances and Savings Plans: For predictable workloads, Azure offers significant discounts through Reserved Instances (up to 72% savings) and Savings Plans for Compute (up to 65% savings). While these options require upfront commitments, they can drastically lower monthly bills for steady workloads with proper planning.
- Azure Spot VMs: For non-critical workloads, Spot VMs allow you to use Azure’s surplus capacity at heavily reduced rates - sometimes up to 90% cheaper. They’re ideal for tasks like development, batch processing, or testing, where occasional interruptions are acceptable.
- Right-Sizing and Auto-Scaling: Oversized virtual machines often lead to unnecessary expenses. By analysing usage with Azure’s monitoring tools, you can identify underutilised resources and adjust them accordingly. Auto-scaling ensures that your resources adapt to actual demand, helping you avoid paying for unused capacity [23, 24].
- Azure Hybrid Benefit: If you already have on-premises licences, this feature can save you up to 40% on Azure VMs and up to 55% on Azure SQL Databases. For Windows Server and SQL Server users, the savings can climb to as much as 85% compared to pay-as-you-go pricing.
- Resource Tagging and Governance: Consistent tagging across resources allows you to categorise costs by department, project, or environment. When combined with real-time alerts, tagging makes it easier to identify and address unexpected expenses.
- Storage Optimisation: Selecting the right storage tiers for your data can lead to significant savings. Use hot storage for frequently accessed data and cooler or archival tiers for less active information. Regularly clearing out unused storage and snapshots also helps keep costs lean.
These strategies integrate seamlessly with your cost alerts, providing a more comprehensive view of your spending. Together, they empower you to respond quickly to rising costs and maintain tighter control over your Azure budget.
Conclusion
Real-time cost alerts in Azure give SMBs the tools they need to keep cloud spending in check while scaling their operations. By taking advantage of Azure's free cost management tools, businesses can establish a strong foundation for staying on top of their expenses.
These alerts do more than just track budgets. They serve as an early warning system, flagging when spending nears set limits and allowing businesses to take action before costs spiral out of control. Regular monitoring not only prevents unexpected charges but also ensures businesses can adjust resources to match actual demand. This level of oversight helps SMBs manage their spending effectively while expanding their Azure usage with confidence.
Jenna Wright, Senior FinOps Specialist at ProsperOps, puts it perfectly:
"You can't optimize what you can't measure."
By pairing real-time alerts with the cost-saving strategies discussed in this guide - such as using Reserved Instances and resource tagging - SMBs can build a solid framework for managing their Azure investment. This approach leads to better budget control, clearer cost accountability, and the assurance to scale operations without unwelcome surprises.
It's worth noting that Azure Cost Management and Billing, including alert features, comes at no extra cost. With these strategies in place, your Azure environment can remain both cost-effective and adaptable to your business needs.
FAQs
What is the difference between budget alerts, credit alerts, and departmental spending quota alerts in Azure?
Azure offers three types of alerts designed to help you keep track of and manage your expenses:
- Budget alerts: These notify you when your spending or usage hits or surpasses a specific amount based on the budget conditions you've set. They’re a handy way to stay within your financial plan.
- Credit alerts: These kick in when your Azure Prepayment (commonly associated with Enterprise Agreements) is running low - usually at 90% and 100% of your credit balance. This gives you a heads-up before your credit is fully used.
- Departmental spending quota alerts: These alerts are sent to department owners when their spending exceeds a set threshold in the Enterprise Agreement portal. They’re perfect for keeping costs under control at the department level.
These alerts play a key role in helping you manage Azure expenses and avoid any unwelcome surprises. For more advice on managing Azure costs, explore expert tips on Azure optimisation and best practices, especially for SMBs growing on Microsoft Azure.
How can I make sure the right team members receive cost alerts in Azure, and what are the best practices for setting up notifications?
To make sure the right team members get cost alerts in Azure, you can use action groups to set up notifications. These groups let you send alerts through email, SMS, or webhooks, and you can assign them to specific alert rules. For instance, you could create separate action groups for finance, IT, or project managers, ensuring the alerts reach the right people.
Here are some tips for setting this up effectively:
- Set up specific action groups for different teams or roles to keep notifications relevant.
- Integrate with tools like Microsoft Teams or webhooks for instant updates.
- Regularly review and adjust alert thresholds and notification methods to keep them up to date.
By implementing these practices, you can keep a closer eye on Azure costs and help your team stay within budget.
What automation options does Azure provide for managing cost alerts, and how can they help control expenses?
Azure offers powerful automation tools designed to help you stay on top of your expenses and manage cost alerts efficiently. Among these are APIs that enable you to automate key tasks like creating budgets, overseeing resources, and tracking spending in real time.
These tools let you implement automatic actions, such as shutting down or resizing resources when spending crosses a set threshold. This not only reduces the need for manual adjustments but also ensures a swift response to unexpected cost changes, helping you keep your cloud expenses in check and within budget.