Azure Workload Cost Analysis: Step-by-Step Guide
Learn effective strategies for analysing and managing Azure workload costs to optimise your cloud budget and avoid overspending.
Want to save money on Azure? This guide breaks down how to analyse and manage your Azure workload costs effectively. Whether you're an SMB or managing large-scale deployments, Azure provides tools to monitor spending, forecast expenses, and optimise resources. Here's the key takeaway:
- Understand your costs: Use tools like Cost Breakdown, Forecasting, and Budget Alerts.
- Track spending patterns: Analyse costs by resource, service, or time period.
- Optimise resources: Resize VMs, remove unused storage, and streamline networks.
- Set budgets and alerts: Avoid overspending by setting thresholds and monitoring usage.
- Save with Reserved Instances: Ideal for stable workloads to cut predictable expenses.
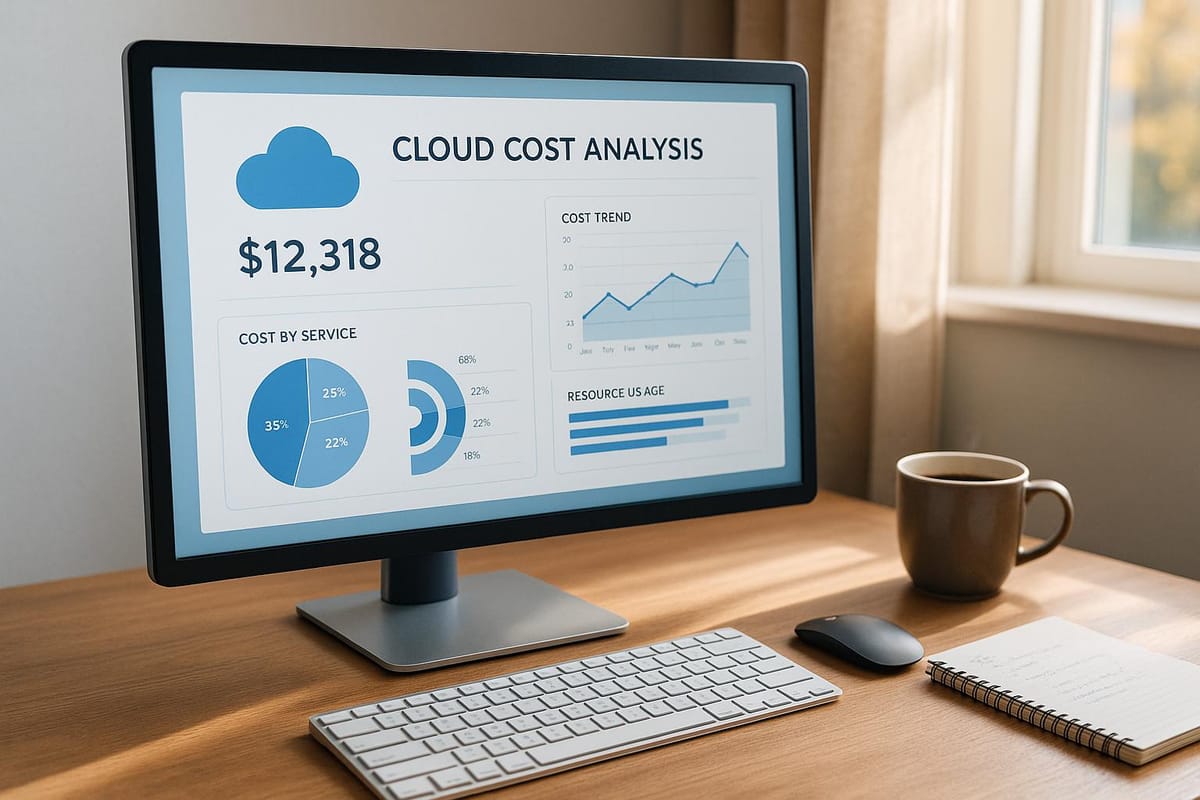
Quick Tip: Start by accessing the Cost Analysis dashboard in the Azure portal. Group costs by resource or service to identify key spending areas. Then, apply filters and export data for deeper insights.
Managing Azure costs doesn't have to be overwhelming. With these tools and strategies, you can take control of your cloud budget and make informed decisions.
Azure Cost Analysis Walkthrough
How to Access Cost Analysis
You can access Azure's cost analysis tools directly through the Azure portal. These tools help you track spending patterns and resource usage. Here's how to locate and use the Cost Analysis features.
Finding Cost Analysis
- Log in to the Azure portal at portal.azure.com.
- Select 'Cost Management + Billing' from the main menu.
- Choose your subscription or management group.
- Click 'Cost Analysis' in the left navigation pane.
If you have elevated permissions, make sure your account has the necessary IAM roles, such as 'Cost Management Reader' or 'Cost Management Contributor', to access these tools. Once inside, you'll see a dashboard summarising your cost metrics.
Cost Analysis Dashboard Guide
The Cost Analysis dashboard is designed to help you track costs in detail. Here's what you can expect:
| Dashboard Component | Function | Features |
|---|---|---|
| Cost View | Shows current spending | Daily spending trends, analysis over time |
| Date Range Selector | Adjusts the analysis period | Custom date ranges and fiscal periods |
| Grouping Options | Organises cost data | View by resource type, tags, or location |
| Cost Filters | Narrows down data | Filter by service or specific resources |
The dashboard includes several key sections:
-
Accumulated Costs Panel
This section shows daily-updated cumulative costs and provides forecasts based on usage trends. -
Cost Analysis Views
Use pre-set views for deeper insights, including:- Daily cost breakdowns
- Resource-specific spending
- Service consumption trends
- Geographic cost distribution
-
Data Export Options
Export your cost data in formats like CSV or Excel, or connect it to Power BI for advanced reporting.
To make navigation easier, you can save your preferred dashboard views using the 'Pin to Dashboard' feature. This way, you can quickly access them whenever you need.
Cost Analysis by Category
Managing your Azure budget effectively starts with understanding how costs are distributed across resources and services. Here's how you can break down and analyse your Azure spending.
Resource Cost Breakdown
To pinpoint your most expensive resources, follow these steps:
-
Access the Resource View
Go to the Cost Analysis dashboard and select "Group by > Resource" from the dropdown menu. This will show your costs grouped by individual resources. -
Apply Filters
Narrow your focus using filters. For instance, you can view costs for specific resource groups or locations, such as compute resources in the UK South region. -
Sort and Analyse
Sort resources by cost to see which ones are driving the highest expenses.
Service Cost Review
Different Azure services have their own cost drivers. Here's a quick overview:
| Service Category | Key Cost Drivers | Tips to Lower Costs |
|---|---|---|
| Compute | vCPU hours, VM size | Resize VMs; use B-series for workloads with variable demand. |
| Storage | Capacity, transactions | Delete unused snapshots; set up lifecycle policies. |
| Networking | Data transfer, IP addresses | Use VNet peering; streamline routing. |
| Databases | DTU/vCore usage, backup storage | Scale resources appropriately; enable auto-scaling. |
Time-Based Cost Analysis
Tracking costs over time can reveal usage patterns and help with budgeting. Focus on these areas:
-
Daily Patterns
Look at daily cost variations to spot peak usage times and assess the efficiency of scaling. -
Monthly Trends
Analyse month-to-month changes to identify seasonal patterns, growth trends, or unexpected spikes. -
Cost Forecasting
Use Azure's built-in forecasting tools to predict future expenses based on current trends. This can help you anticipate and avoid budget overruns.
Comparing current costs with past data can quickly highlight anomalies, allowing you to adjust resource usage and budgets as needed. For more insights on reducing Azure expenses, check out Azure Optimization Tips, Costs & Best Practices. Up next, we’ll dive into workload-specific cost tracking.
Workload-Specific Cost Analysis
Managing costs effectively in Azure requires a tailored approach for different workloads. Here's a breakdown of strategies for key service categories.
AKS Cost Tracking
When it comes to Azure Kubernetes Service (AKS), keeping track of expenses is essential. Use these steps to monitor and manage costs:
- Analyse cost data: Use the Azure Cost Analysis dashboard to review spending patterns.
-
Track cluster resource usage: Focus on key components and their cost implications:
Component Key Metrics Cost Impact Node Pools CPU and memory usage Drives compute-related expenses Storage Persistent volume use Influences storage costs Networking Pod-to-pod traffic Adds to network data transfer expenditures - Control expenses: Set quotas and limits for namespaces, and configure auto-scaling thresholds to avoid unnecessary spending.
For network-related costs, further steps can help tighten control.
Network Cost Management
Managing network costs for distributed applications involves careful planning and monitoring. Start by leveraging Azure Network Watcher to:
- Monitor inter-region data transfers.
- Track ingress and egress volumes.
- Identify peak usage periods.
Ways to Reduce Network Costs
-
Content Delivery Improvements
Use Azure CDN to cache and deliver frequently accessed content. This can cut down on data transfer expenses. -
Smart Network Design
Consider these approaches to optimise your network setup:Strategy Implementation Details VNet Peering Use regional VNet peering to lower costs for inter-region transfers. Compression Enable HTTP compression to reduce the volume of transferred data. Gateway Sizing Match ExpressRoute circuits to actual bandwidth requirements. -
Set Up Alerts
Use Azure Monitor to create alerts for unusual routing patterns. Adjust thresholds based on typical usage and your budget to avoid overspending.
Cost Reduction Methods
Manage Azure expenses effectively by focusing on budgeting, resource management, and continuous monitoring. Building on earlier cost analysis, these strategies can help streamline spending.
Setting Budgets and Alerts
Use Azure Cost Management + Billing to set up budgets and alerts:
- Define budget limits in Cost Management.
- Create action groups to trigger spending alerts.
- Regularly monitor usage and adjust thresholds as needed.
Saving with Reserved Instances
Reserved Instances (RIs) are a great way to cut costs for steady workloads. Analyse three months of usage data, test RIs on stable workloads, and adjust reservations as necessary. This approach directly reduces predictable expenses.
Extra Cost-Saving Resources
For more advice on optimising Azure costs, check out Azure Optimisation Tips, Costs & Best Practices. Other useful strategies include automating shutdowns for non-essential environments, using Azure Advisor to right-size resources, and taking advantage of Hybrid Benefits.
Summary
Azure workload cost analysis helps SMBs better understand their cloud expenses and allocate resources efficiently. By using this analysis, businesses can make smarter, data-based decisions.
Advantages of Regular Cost Analysis
- Pinpoints key cost drivers and spending trends
- Guides better resource allocation choices
- Helps manage budgets effectively
- Identifies ways to control and reduce costs
These insights can lead to effective cost-saving actions.
Steps for Implementation
- Analyse baseline costs: Start with an initial review to understand current spending.
- Set budgets with alerts: Create budgets and configure alerts for better control.
- Track resource usage: Keep an eye on usage to spot inefficiencies.
- Apply cost-saving actions: Use findings to implement changes, like reserved instances or automated scaling.
FAQs
How can I use Azure Cost Analysis to identify and manage expensive resources in my organisation?
Azure Cost Analysis is a powerful tool for monitoring and managing your organisation's cloud spending. To identify high-cost resources, start by accessing the Cost Management + Billing section in the Azure portal. Use the Cost Analysis feature to filter and group your expenses by resource, subscription, or service. This will help you pinpoint areas where costs are higher than expected.
Once you've identified these resources, review their usage patterns and determine if they align with your business needs. You can take actions such as resizing over-provisioned resources, shutting down unused instances, or switching to more cost-effective pricing models. Regularly analysing your costs will ensure you optimise your Azure spending without compromising performance or scalability.
How can I set up budgets and alerts in Azure to control costs and avoid overspending?
To manage costs effectively in Azure, you can create budgets and set up alerts to monitor your spending. Azure Budgets allows you to define a monthly or annual spending limit, ensuring you stay within your financial goals. Once a budget is set, you can configure alerts to notify you when spending approaches or exceeds predefined thresholds.
To set this up, go to the Cost Management + Billing section in the Azure portal, define a budget based on your subscription or resource group, and specify the alert conditions. This way, you can take timely action to optimise your resources and prevent unexpected expenses. Additionally, reviewing your usage regularly can help identify areas where resources can be scaled down or optimised for better cost efficiency.
What are Azure Reserved Instances, and how can they help save costs?
Azure Reserved Instances (RIs) allow you to prepay for virtual machine usage over a 1 or 3-year term, offering significant cost savings compared to pay-as-you-go pricing. By committing to a longer-term plan, businesses can save up to 72% on their virtual machine costs.
RIs are most beneficial when you have predictable, consistent workloads that require ongoing usage of specific virtual machine configurations. For example, if your business runs applications or services that operate continuously, Reserved Instances can greatly reduce your overall Azure expenditure. Keep in mind that RIs are flexible - you can exchange or cancel them if your needs change, ensuring they remain a practical option for many organisations.